
This Simple Homemade Pita Bread Recipe is easy to make and only requires a few ingredients you probably already have on hand. Making fresh pita at home couldn’t be easier, which is a delightful discovery. Mix the dough, let it rise, and enjoy the magic of fresh, warm, perfectly puffy pita bread. This recipe uses instant yeast and requires no kneading or complicated shaping. In just 3 minutes in the oven, the pita rounds inflate into perfect pockets. They’re incredibly soft, chewy, and flavourful. Fill these pita pockets with anything you like, from sandwich fixings to hummus and falafel, to pizza toppings! Words can’t quite capture how delicious they are.
Making pita at home is definitely worth it. Store-bought pita, like sandwich bread, often sits on shelves for several days. Warm, fragrant home-baked pita surpasses it in quality, and there’s a thrill as the bread puffs up in the oven. Once you get the hang of it, it’s not difficult. After making this simple and easy homemade pita bread, you’ll never want to buy the store-bought version again. While convenience and time might sometimes make buying necessary, you’ll always wish you were eating these homemade pitas.
Pita bread is freezer-friendly, and you can even prepare the dough ahead of time. These pitas will transform your lunches and dinners, making every meal a bit more special.
What is Pita Bread?
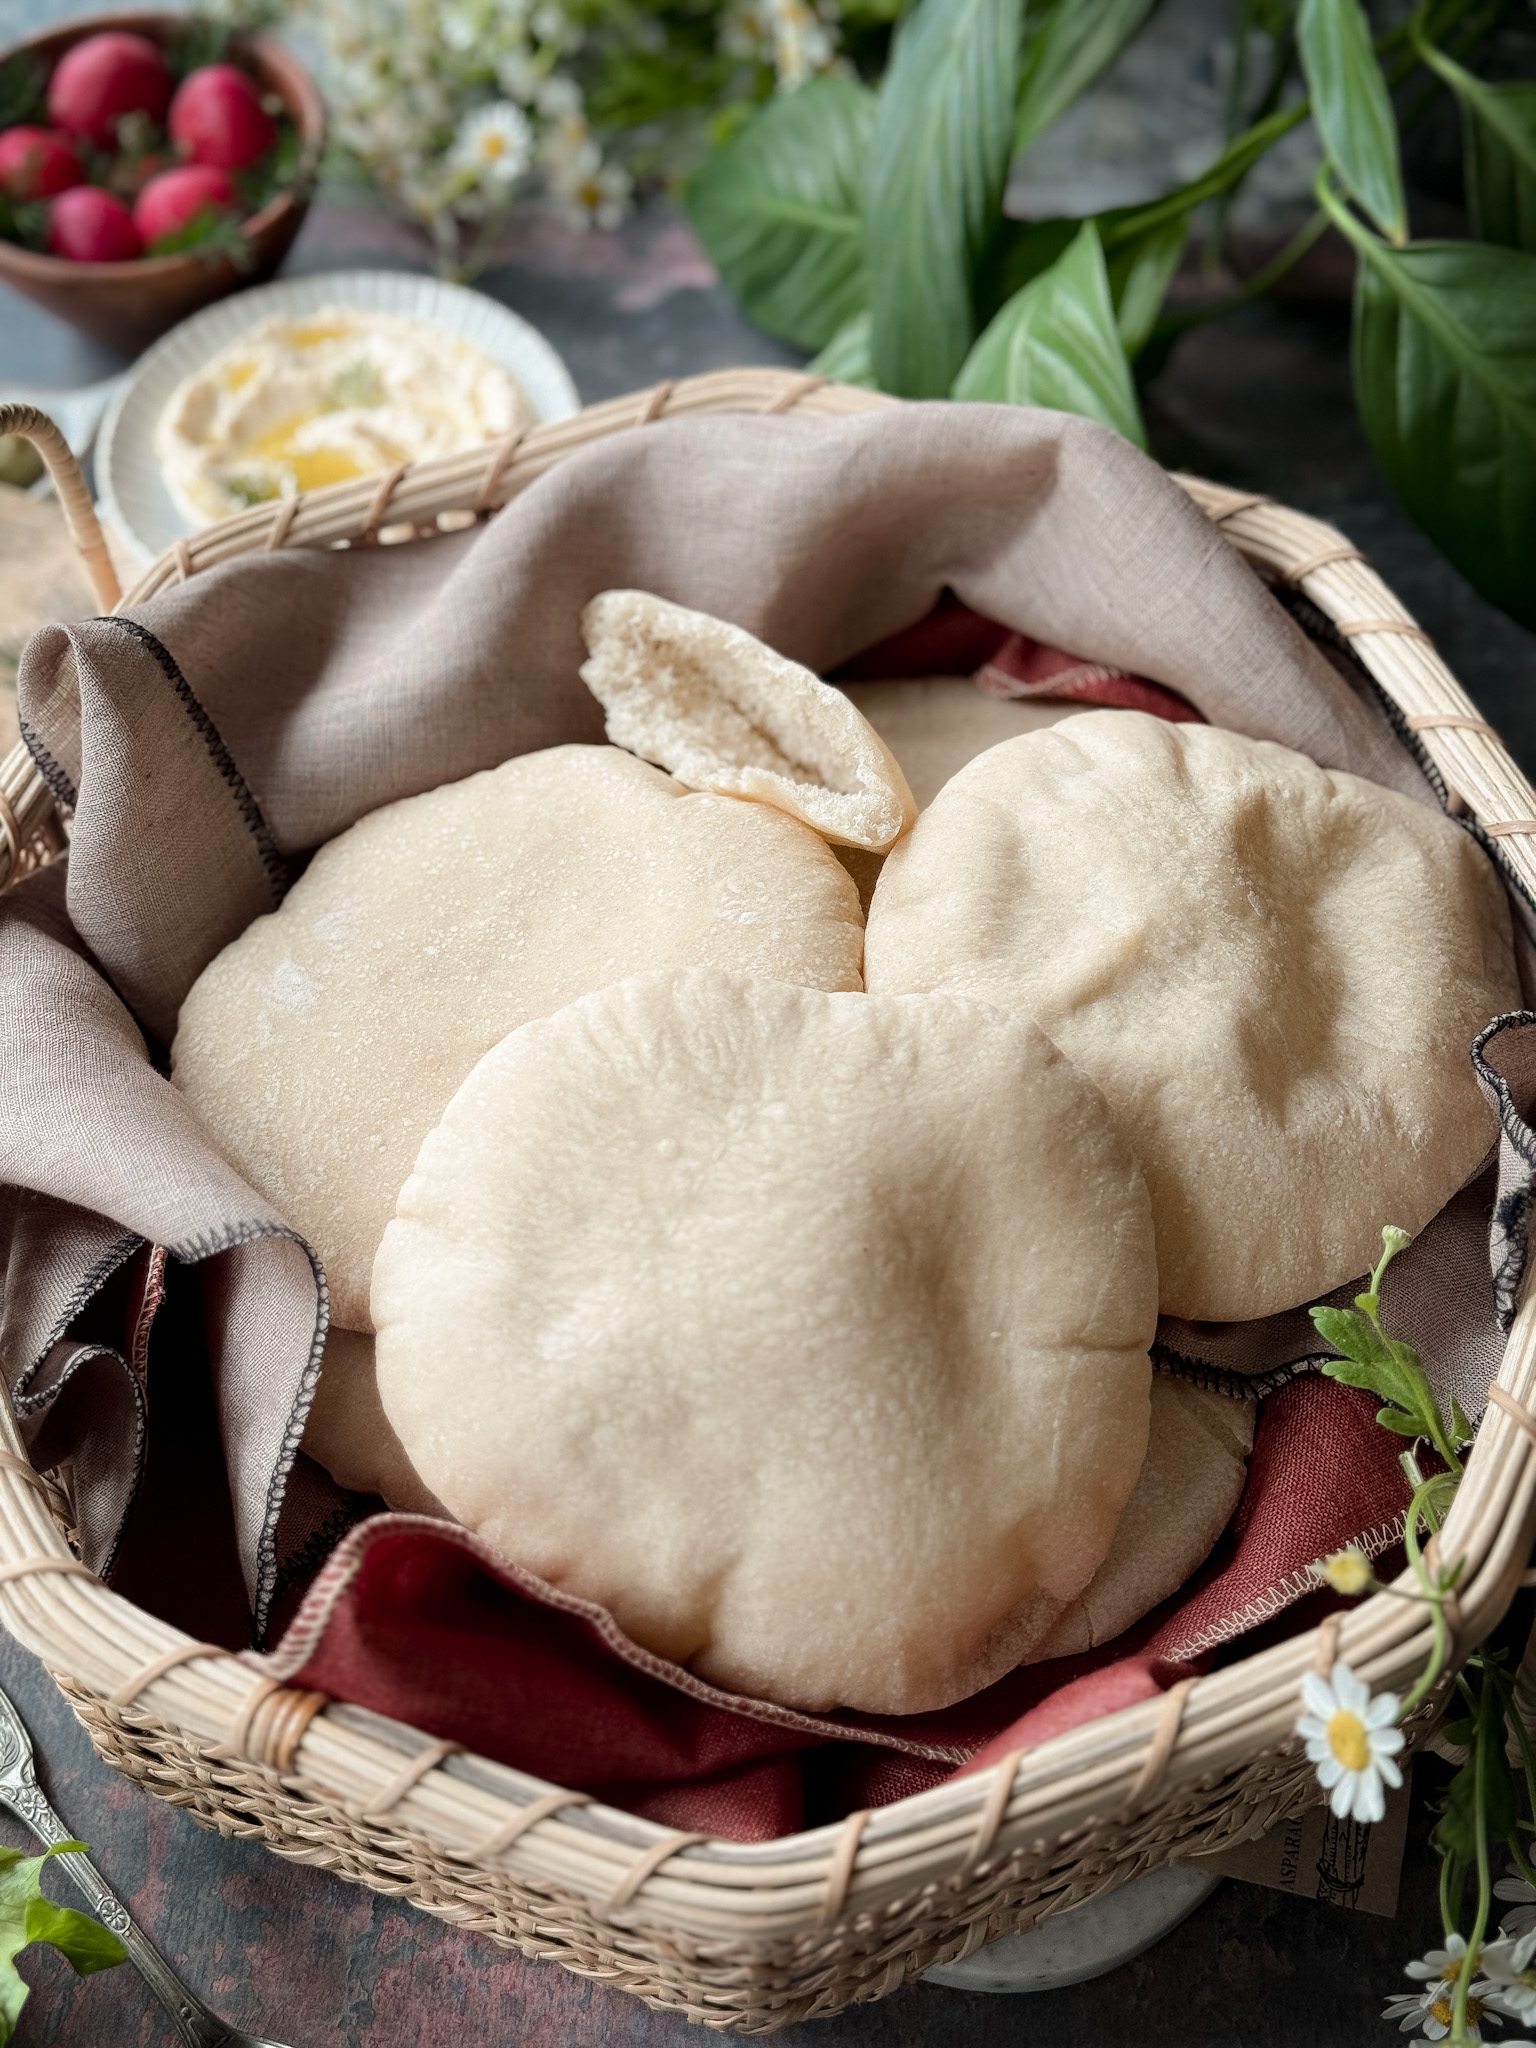
Pita bread is a type of flatbread from the Middle East and Mediterranean regions. It has a soft, chewy texture and a unique pocket that forms when the dough puffs up during baking. This pocket makes pita bread perfect for filling with various ingredients, making it a versatile choice for sandwiches, dips, and other dishes.
Pita is typically made from simple ingredients: flour, water, yeast, and salt. You roll the dough into rounds and bake it at a high temperature, causing the moisture in the dough to turn into steam and create the pocket. You can enjoy pita bread fresh, warmed, or toasted. It pairs well with many fillings and toppings, such as hummus, falafel, grilled meats, vegetables, and even pizza ingredients. Its versatility and ease of preparation make it a staple in many cuisines around the world.
Ingredients Used to Make simple Homemade Pita Bread Recipe:
- Flour: You can use either all-purpose flour or bread flour for today’s recipe. It forms the base of the pita dough.
- Salt: This ingredient adds flavour to the bread, enhancing its taste.
- Yeast: Use instant or rapid-rise yeast, which helps the bread rise and puff up in the oven by releasing gas as it bakes.
- Olive Oil: Adding moisture to the dough, olive oil also imparts a subtle flavour to the pita bread.
- Water: Essential for making the dough, water helps bind the ingredients together to form the perfect pita bread.

Step by Step Instructions of How to Make Homemade Pita Bread
MAKE THE DOUGH
- In a bowl, mix together the flour, salt, and yeast. Add the olive oil and water, then stir until you get a shaggy dough.
- Tip the dough onto a clean work surface and knead by hand for 2 minutes.
- Transfer the dough to a lightly greased bowl, cover it tightly with plastic wrap, and leave it in a warm spot to rise until it doubles in size, which should take around 90 minutes to 2 hours.
SHAPE THE DOUGH
- Turn the risen dough out onto a lightly floured surface, and divide it into 6-8 equal portions.
- Shape each portion into a ball, cover the dough balls with a towel, and leave them to rest for 30 minutes.
- On a lightly floured surface, gently roll out the dough balls, using more flour on top of the dough as needed to prevent sticking. Roll each ball out thinly, to about 6″ in diameter.
- Place the circles of dough on separate sheet of parchment paper. Cover them with a towel, and let them rest for 15 minutes.
BAKING THE BREAD
- Position the oven rack in the centre and place a cast iron skillet on it. Preheat both the oven and the skillet to 290ºC.
- Bake one pita at a time by placing the dough and paper onto the hot skillet. Bake for about 3 minutes until it puffs up.
- Use tongs to take the pita and paper out of the skillet. Put the baked pita into a container lined with a clean kitchen towel. Wrap the towel over the bread so it can steam a bit and stay moist.
- Continue baking the remaining pita bread.
- As the pita bread cools, it will deflate, but there will still be a pocket inside when you split one end open with a knife. Fill it with your desired fillings.
Helpful Tips and Tricks to Make Simple Homemade Pita Bread Recipe:
- Store any leftover pita bread in an airtight container at room temperature for up to 3 days, or in the freezer for up to 3-6 months.
- Bake one sheet at a time. To ensure even cooking, bake one sheet at a time as oven temperatures can vary. This prevents the pita bread on the bottom rack from burning before the top rack starts to brown. With only one baking sheet in the oven, you can position a rack in the centre to allow the pita space to puff up.
- If your pita doesn’t puff up, it could be due to several reasons: the oven temperature might be too low, the pan wasn’t hot enough, the yeast is expired or wasn’t properly activated, or the dough is too dry, stiff, or overworked. A very hot oven and surface are necessary for the pita to puff up. This creates a burst of steam in the dough, giving the pita its interior pocket and puffed appearance.
- You can use a pizza stone instead of a cast iron skillet, but make sure to check the manufacturer’s instructions for safe preheating. Alternatively, you can try using a preheated baking sheet, although it may not get as hot as a cast iron skillet, resulting in less puffing of the pita.
What to Serve with Pita Bread:
This pita bread is so soft, fluffy, and flavourful that we honestly love to eat it plain! However, it’s also fantastic with all sorts of fillings, spreads, and dips. Here are a few ideas to get you started:
- Fill it with crispy falafel, feta dip, and fresh herbs.
- Toast it, slice it into wedges, and add it to a crudité platter with white bean dip and fresh veggies.
- Use it to scoop up saucy shakshuka or baked feta.
- Pile it with grilled veggies and tzatziki sauce for a light summer meal.
- Or dip it into hummus, baba ganoush, or Persian Beetroot and Yoghurt Borani for a healthy snack!
If you tried this recipe or any other recipe on our blog let us know how liked it by leaving a comment/rating below! Be sure to follow along on Pinterest, Instagram and Facebook for even more amazing recipes!!

Ingredients
method
Make the Dough
Shape the Dough
Bake the Bread
6 comments
I’ve made this several times.. it’s the only recipe I use for pita. Can I make it in stove ? Ciao!
Sammy K
Hey Sammy,
Ciao! I’m so happy to hear this has become your go-to pita recipe. Yes, you can cook pita on the stovetop in a hot skillet or cast-iron pan. The cooking time may vary a little, but it should work well. Hope that helps!
These are great! So easy, delicious, and puffs up perfectly.. A keeper.. thanks
Mahima Agarwal
Thanks Mahima for your feedback. Am so glad you enjoyed it.
Mini
Hi, The recipe sounds simple , easy and delicious. Just wanted to know if I can make it in an air-fryer.
Marsha Davidson
Hi Marsha,
Thanks for your comment! The recipe is indeed simple, easy, and delicious. I haven’t tried making it in an air fryer, but you could give it a go. I’m not sure how it will turn out, but it’s worth experimenting.
Thanks