
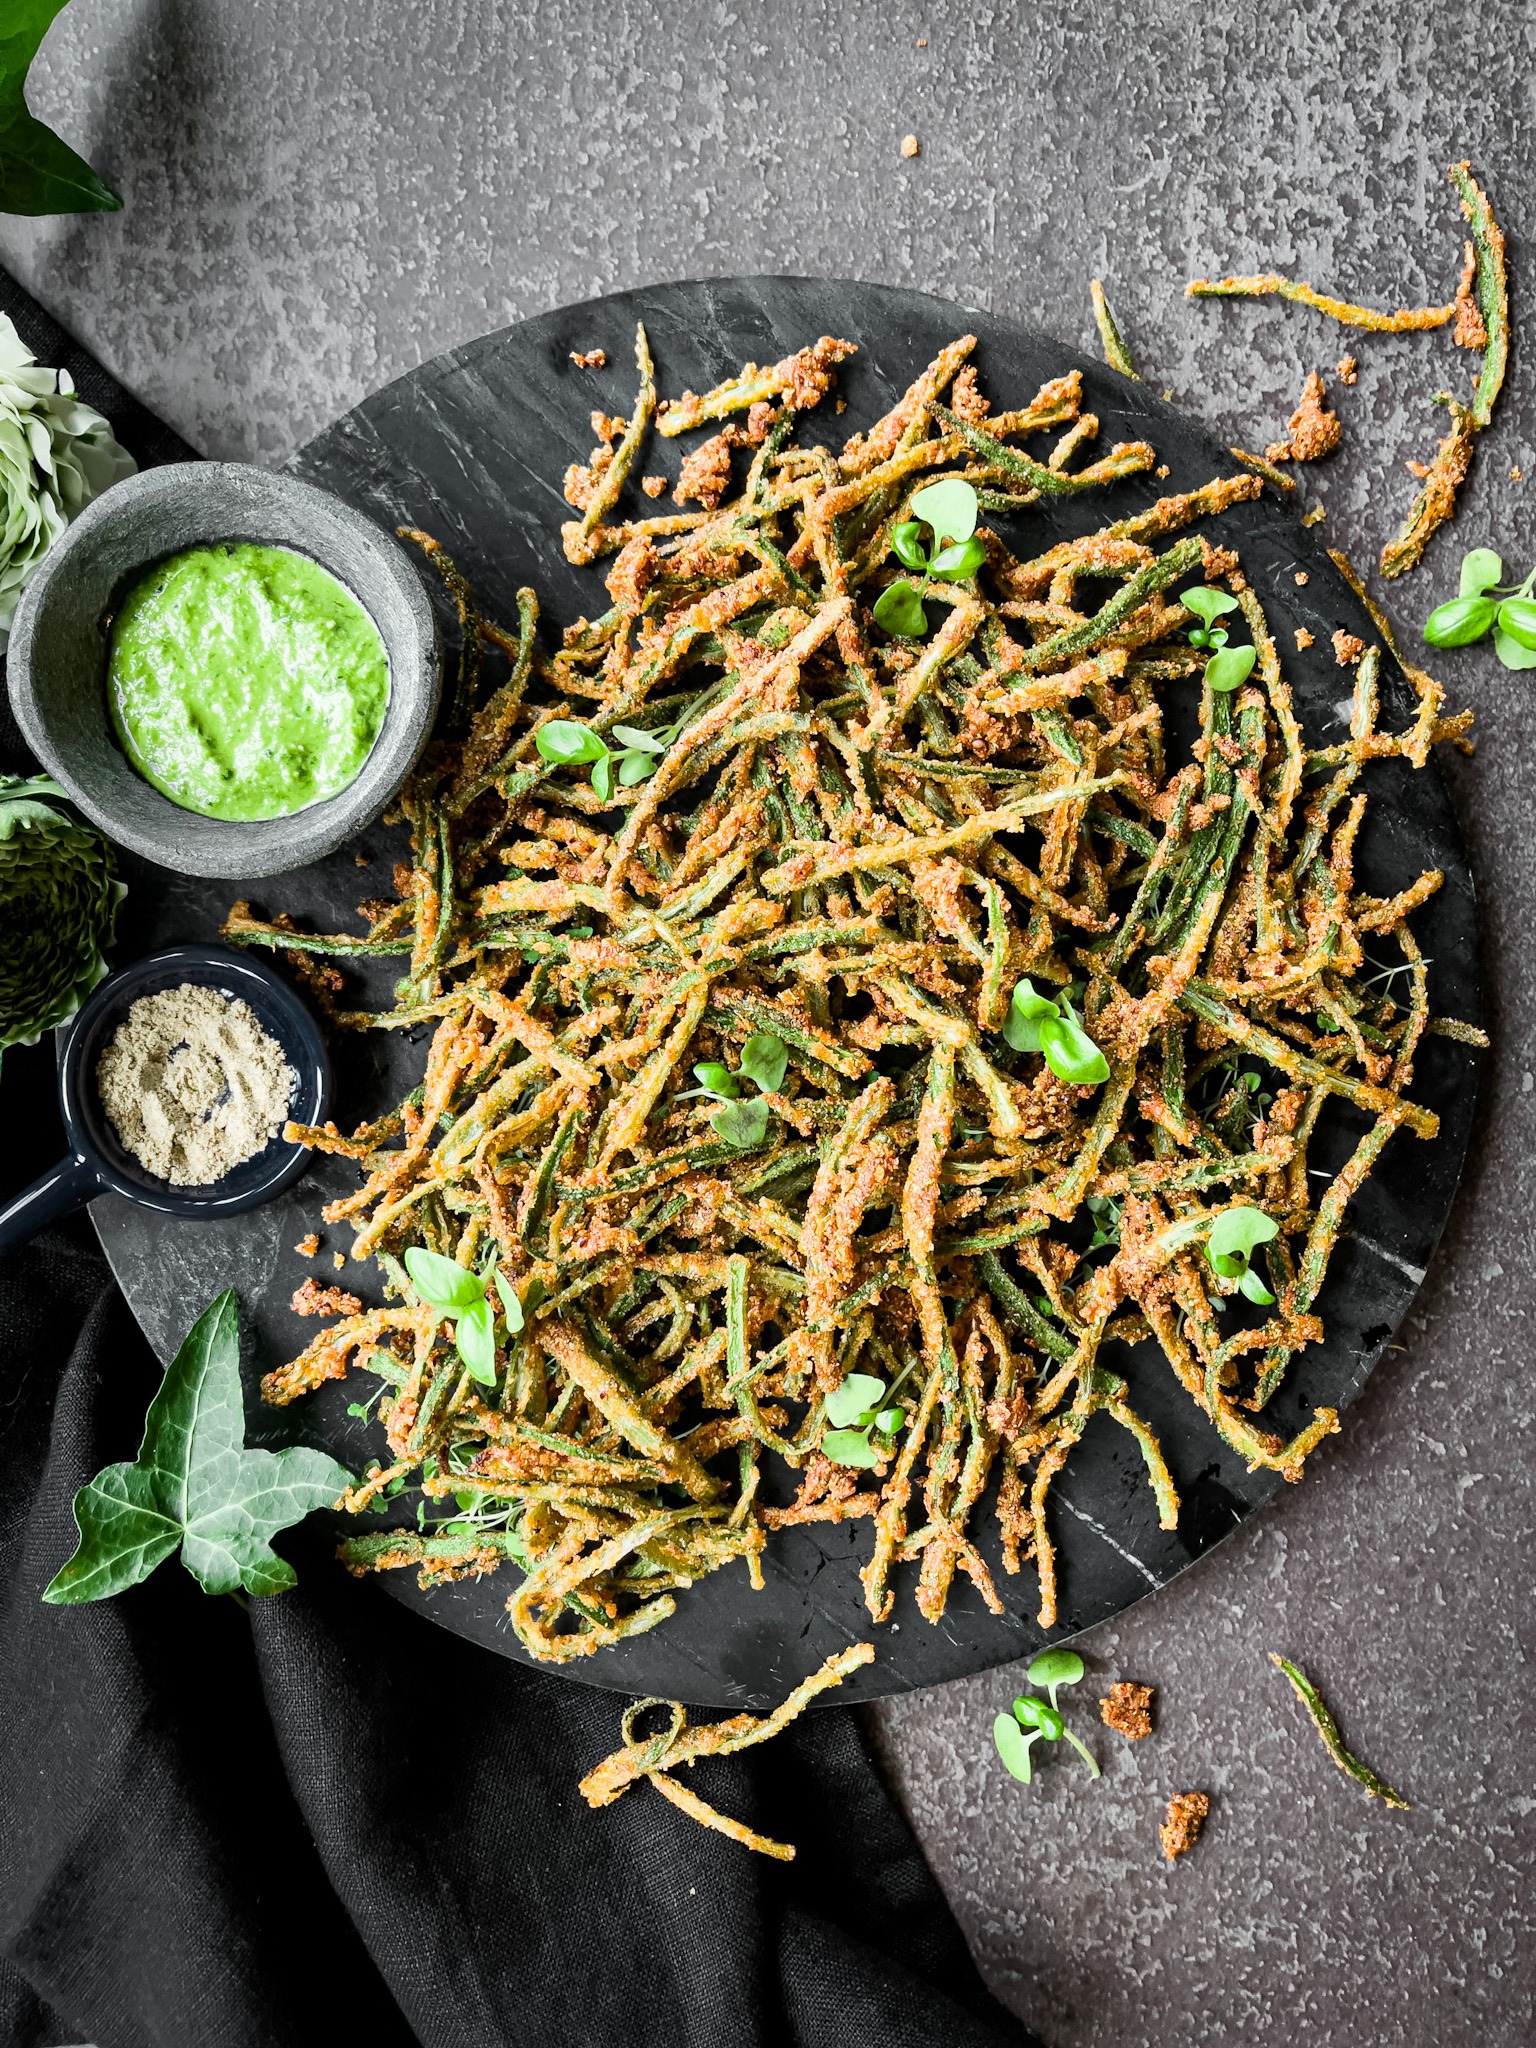
Kurkuri Bhindi – a tangle of hot, freshly fried strings which are just about the best thing around, and they’re so addictive. Kurkuri means Crispy and Bhindi is Okra, and this crispy spicy okra is quite a favourite with adults and children alike. Crisp from the outside to centre, crispy bhindi are more akin in texture to a perfect chip, although thinner. It is a breeze to cook and pairs extremely well with a wide variety of dals and Indian curries or can be served as a stand-alone appetiser or even as a chaat. And while this tastes most delicious when they’re hot and fresh, these remain crispy when cold, meaning they’re just as good the next day.
Bhindi, also known as okra, gumbo (in Africa, Middle East, Caribbean & South America) or even ladies’ fingers, is a warm seasonal vegetable. It is a good source of minerals, vitamins, antioxidants, and fiber. It contains a sticky juice that people in lot of countries use to thicken sauces. It’s an essential crop in many countries due to its high nutritional value. It has a mild taste and a unique texture, with a peach-like fuzz on the outside, with small, edible seeds inside the pods.
If you cook bhindi/okra often, then you are well aware about this problem – the gooeyness! The vegetable exudes a substance called mucilage which makes it slimy. So how do you make it less sticky? Wash and pat dry the bhindi before chopping. If you try to cut the okra without pat drying it will be very slimy, and in this recipe we need to have them completely dry, or else they not be crisp. So make sure to pat dry each individually with a paper towel.
How to Make Kurkuri Bhindi Fry:
To achieve the perfect level of crispiness, you don’t need a fancy frying method — a quick dip in hot oil will do. Step by step photo given below:
- Choose the right Okra: Bhindi is the star ingredient so make sure you pick bright green in colour, slightly firm but not hard, long & slender bhindi’s without any blemishes or damaged spots.
- Cutting the Bhindi: You need to cut them uniformly. You need cut them in julienne or slightly thicker; it all depends on personal taste, but make sure to stick with one size.
- Removing the seeds: To prevent the seeds imparting a bitter taste and bubble up and splatter. Make sure most of the seeds are removed from it. Transfer to a large bowl.
- Prepare the Seasoning : Mix all the ingredients of the seasoning in a small bowl, and keep aside.
- Marinate the Bhindi : Sprinkle the dry spices on the julienned bhindi’s, and toss and mix well until all the bhinids’s are coated with the spice mix. Keep it aside for 10min.
- Heat the Oil: Heat oil in a heavy bottom large pot for frying. Keep the oil temperature around 350°F and use a candy or deep-fry thermometer to ensure that the oil isn’t getting too hot or too cool. If you don’t have a thermometer, or just prefer to go by visual cues instead, test to see if the oil is ready by dropping in a fry. It should start to sizzle when it’s good to go.
- Frying the Bhindi : Add 2 tsp of lemon juice to the marinated bhindis. Sprinkle 1 tsp of water and mix well. Fry the bhindi in batches in hot oil. Overcrowding the bhindi in oil will not make them crispy. Drain on a paper towel and serve.


You can also bake or air fry Okra to make this Kurkuri Bhindi, if you like to make it a little healthy. I have mentioned below the process to make Baked Kurkuri Bhindi.
How to make Baked Kurkuri Bhindi:
To make it in an oven, preheat the oven to 200°C. Follow the steps until mixing the bhindi with spice mix.
Arrange the slices in an ovenproof tray in a single layer. Spray with oil. Bake for 20 minutes. Toss once midway. Once the bhindi is done, sprinkle salt and lemon juice and serve.
Kurkuri Bhindi made in the oven will not be as crispy as the fried ones but it will still be delicious.
Helpful Tips and Tricks to Make Kurkuri Bhindi Fry:
- The oil should be hot, otherwise, the bhindi will absorb oil and become soggy and not even look good on the plate.
- Always add bhindi in batches. Adding too many bhindis to the oil will steam each other and will never become crispy. So space them out and fry in batches.
- Use fresh tender bright green bhindis pods. Try not to use bhindi that has become stringy or fibrous.
- Remember that the bhindi has to be completely dried before you begin with the recipe. Any water or moisture on the bhindi will not give you the crispiness that is the hallmark of this recipe.
- You can alter the spice powders as per your taste.
- Make sure you use a heavy-bottomed large pot and work in smaller batches. The deep sides will help contain any splatters and bubbles.
Other dishes which will go well with this recipe are Urad Dal Tadka, Dhaba Style Paneer or even Achari Aloo. If you enjoy this recipe please leave a comment below or tag us on Instagram!
.

Ingredients
method